Call us now
07971549107

 Send Inquiry
7 BLACK 3 PIN WTH LONG ROLLER PATTI
Price 1.0 INR/ Piece
7 BLACK 3 PIN WTH LONG ROLLER PATTI Specification
- Response Time
- 10ms
- Temperature Range
- -25C to +80C
- Circuit Type
- SPDT
- Protection Level
- IP40
- Mechanical Life
- 1,000,000 cycles
- Finish Type
- Matt
- Rated Voltage
- 220-250V
- Automation Grade
- Manual
- Number of Module
- Single
- Max. Current
- 10A
- Product Type
- Micro Limit Switch with Long Roller Patti
- Material
- Engineering Plastic & Metal
- Insulation Resistance
- 100 M (at 500V DC)
- Contact Resistance
- 50 m (Initial)
- Max. Voltage
- 250V AC
- Operating Temperature
- -25C to +80C
- Stoke
- 18mm (Roller Lever Travel)
- Size
- 68mm x 24mm x 41mm (L x W x H)
- Color
- Black
- Weight
- 70g
- Mounting Type
- Panel Mounting
- Current Rating
- 10A max
- No Of Poles
- 3
- Actuator Type
- Long Roller Lever
- Usage
- Industrial Machinery Automation
- Standards Compliance
- IEC 60947-5-1
- Contact Material
- Silver Alloy
- Ambient Humidity
- 85% RH
- Package Quantity
- 1 Piece
- Insulation Material
- Phenolic Resin
- Operating Force
- 150g
- Switching Frequency
- 120 cycles/min
- Terminal Type
- Screw Terminal
- Dielectric Strength
- 1,000V AC/min
7 BLACK 3 PIN WTH LONG ROLLER PATTI Trade Information
- Minimum Order Quantity
- 1000 Pieces
- Sample Available
- Yes
- Sample Policy
- Sample costs shipping and taxes has to be paid by the buyer
- Main Domestic Market
- All India
About 7 BLACK 3 PIN WTH LONG ROLLER PATTI
- Compact Size: Small and lightweight, making them ideal for space-constrained applications.
- High Durability: Constructed with robust materials to withstand frequent use and harsh environments.
- Precision Operation: Provides highly accurate and repeatable actuation.
- Long Lifespan: Designed for millions of cycles, ensuring long-term reliability.
- Quick Action: Features a snap-action mechanism for instant response to minimal actuation force.
Reliable Performance for Automation Needs
Built to serve industrial machinery automation, this switch offers exceptional reliability with mechanical life exceeding 1 million cycles, and an operating force of 150g. Its 18mm long roller lever guarantees responsive actuation, making it ideal for repetitive motion machines.
Sturdy Construction and Safe Operation
Crafted from engineering plastic and metal, the switch features a matt black finish for lasting durability. The phenolic resin insulation and silver alloy contacts ensure high safety and electrical efficiency. Rated for 10A and up to 250V AC, it withstands tough industrial environments.
FAQs of 7 BLACK 3 PIN WTH LONG ROLLER PATTI:
Q: How do I install the 7 BLACK 3 PIN WTH LONG ROLLER PATTI?
A: The switch is designed for panel mounting and offers screw terminal connections for secure wiring. Simply attach the unit to your control panel through the mounting holes and connect the wires to the screw terminals following your machinerys circuit diagram.Q: What types of industrial applications is this switch suitable for?
A: This switch is ideal for automated machinery in factories, conveyors, and industrial equipment due to its robust mechanical design, high switching frequency (120 cycles/min), and long roller lever actuator.Q: When should I consider using a switch with a long roller lever like this model?
A: Choose the long roller lever version for applications requiring detection of moving parts or where extended actuation distance and gentle operation are important, such as sliding gates, presses, or automated assembly lines.Q: Where can the 7 BLACK 3 PIN WTH LONG ROLLER PATTI be used safely?
A: The switch is suitable for indoor industrial environments with ambient humidity up to 85% RH and temperatures ranging from -25C to +80C. It possesses IP40 protection against solid foreign objects, making it adequate for most shop floors.Q: What are the key electrical and mechanical benefits of this switch?
A: The device features robust electrical specs, including a dielectric strength of 1,000V AC/min, insulation resistance 100 M, contact resistance 50 m, and a rapid response time of 10ms. Mechanical durability is ensured by a tested lifespan of 1,000,000 cycles.Q: How does the silver alloy contact material enhance switch performance?
A: Silver alloy contacts provide excellent conductivity and corrosion resistance, ensuring reliable circuit closure, lower power loss, and a long operational life even under heavy load conditions.Q: What is the process to replace this switch in existing equipment?
A: To replace, first disconnect power to the equipment. Remove the panel mounting screws, disconnect the wires from the screw terminals, and then mount the new switch in place. Reconnect wiring and reattach the panel, ensuring all connections are secure before powering up.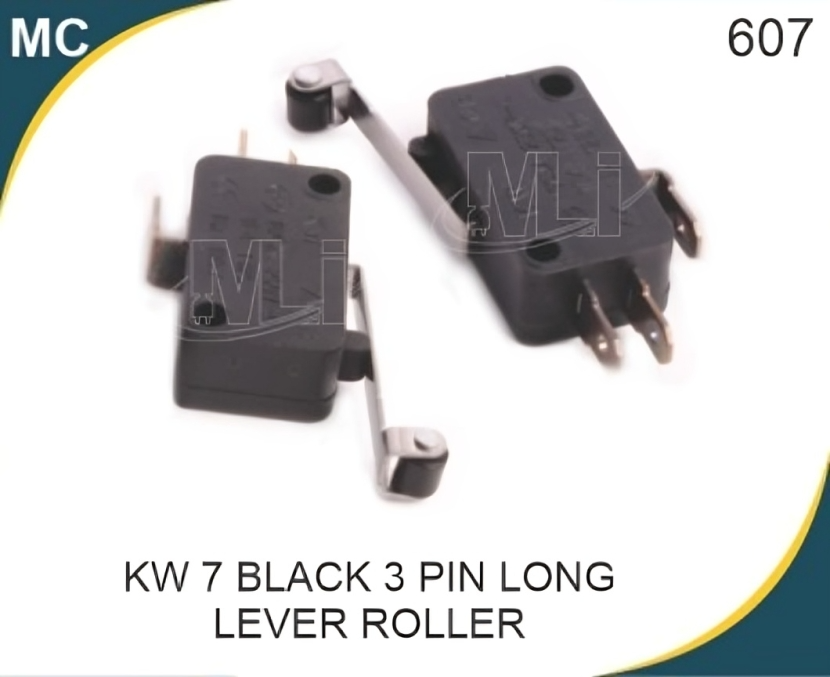


Price:
- 50
- 100
- 200
- 250
- 500
- 1000+

More Products in Micro Switch Category
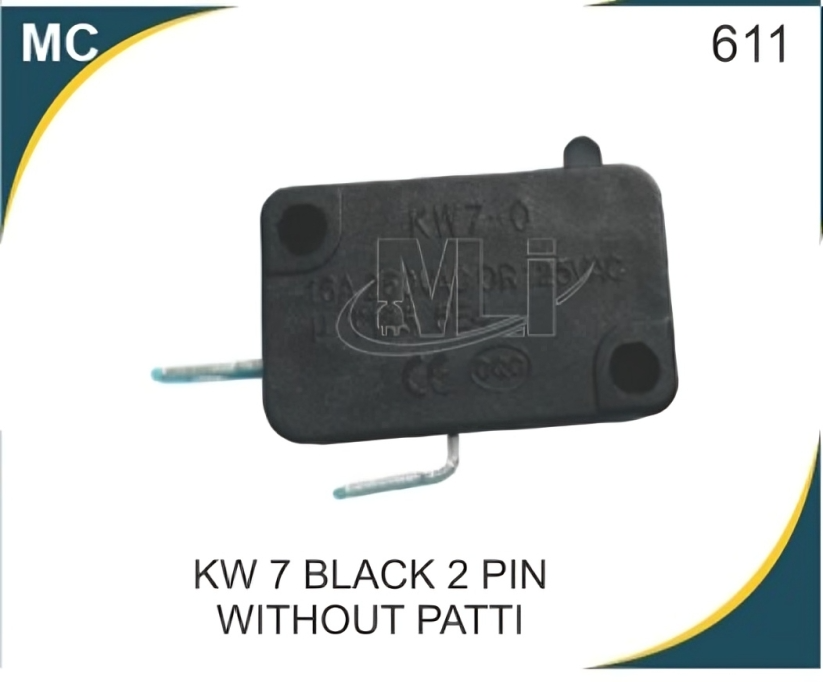
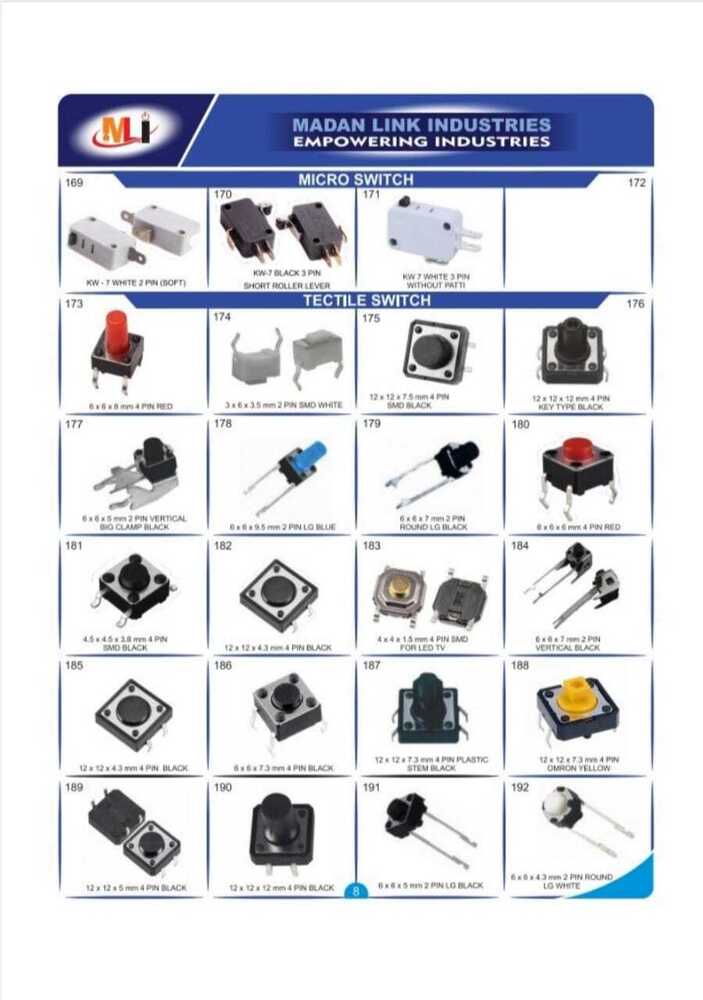
KW7 BLACK 2 PIN WITHOUT PATTI
Price 2 INR / Piece
Minimum Order Quantity : 1000 Pieces
Size : Approx. 28mm x 10mm x 15mm
Rated Voltage : 250V AC
Color : Black
Material : Plastic Body, Silver Alloy Contacts
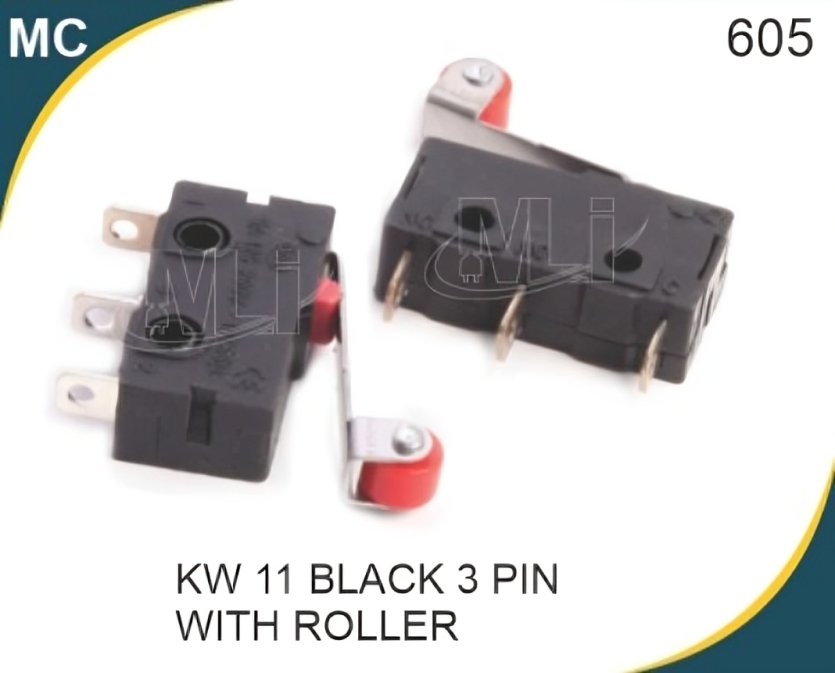
KW-11 BLACK 3 PIN WITH ROLLER
Price 2 INR / Piece
Minimum Order Quantity : 1000 Pieces
Size : 20mm x 8mm x 6mm (Approx.)
Rated Voltage : 125V/250V AC
Color : Black
Material : High Grade Thermoplastic and Alloy Contacts
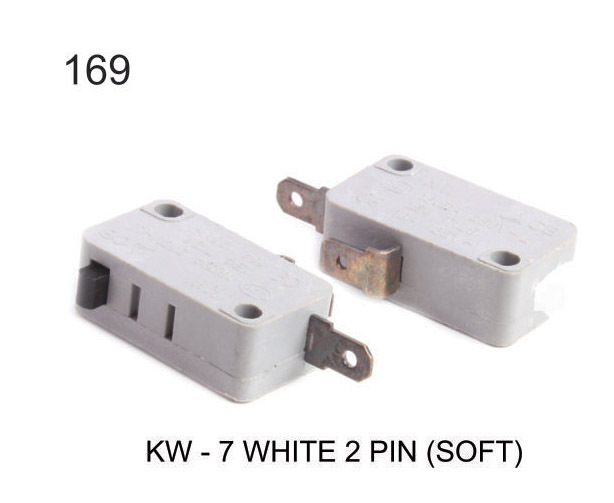
KW-7 WHITE 2 PIN (SOFT)
Price 2 INR / Piece
Minimum Order Quantity : 1000 Pieces
Size : 27.8mm x 16mm x 10.3mm
Rated Voltage : 250V AC
Color : White
Material : ABS Plastic Housing with Silver Alloy Contacts
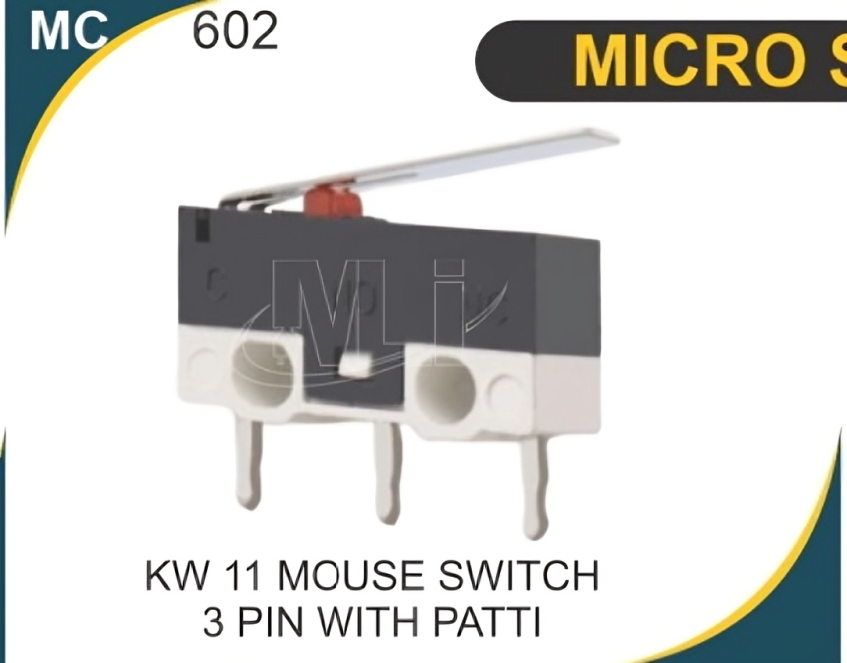
KW 11 MOUSE SWITCH 3 PIN WITH PATTI
Price 2 INR / Piece
Minimum Order Quantity : 1000 Pieces
Size : 20mm x 7mm x 15mm
Rated Voltage : 250V AC
Color : Black
Material : Plastic and Metal Alloy
GST : 07GXHPS1420Q1ZW

- Rocker Switch
- Round Rocker
- Long Rocker
- Big Rocker
- Monitor Switch
- Micro Switch
- Tactile Switch
- Lock-no Lock Switches
- Toggle Switches
- Ac Sockets
- Dc Sockets
- Philips Socket
- Cell Holders
- Fuse And Fuse Holder
- Alligator Clip
- Potentiometer And Slides
- Usb Connectors
- DC Fans
- Aux Sockets
- Rca Socket
- Mrs Connectors
- DC Buzzer
- Audio Couplers And Pins
- Power Switches
- XLR Connectors
- Wires And Leads
- Dip Switch
- Led Bulb And Holders
- Ohm Preset
- Berg Strip And Db Connectors
- Dust Cover
- Barrier Terminal Connector
- Metal Switch
- Nickel Strip
- Dc Motors
- Kettle Parts
- BANANA SOCKETS & PLUG
- MOULDINGS
- BARRIER & JST CONNECTORS
- THIMBLES
- MISCELLANEOUS ITEM
 Send Inquiry
 Call Me Free
Developed and Managed by Infocom Network Private Limited.